Installing Statamic Locally
The Statamic docs recommend running Statamic locally, using git to deploy your changes to the live website. This is how I’d normally work anyway, so it makes sense to follow this guidance.
I use Laravel Homestead to build my Laravel apps locally and as Statamic is built as a Laravel package, I will utilise this for local development.
If you use a different local setup then skip this section…
Setting up Homestead (Vagrant Machine)
The first step is updating the homestead.yaml file to add a new vhost.
Under the sites key, add a new map:
- map: projectname.local
      to: /home/vagrant/code/projectname/public
      type: apache
      php: "8.0"
As Statamic is a ‘flat-file’ CMS, there is no need to add an additional database at this point. For the win.
To make sure that the website is available locally on your machine, you’ll also need to update the etc/hosts file using the command sudo nano /etc/hosts in the terminal.
Once open, add a new line:
192.168.10.10 projectname.local
Your Homestead IP Address may differ, so double check this first.
This simply tells your local computer that when you visit projectname.local, it should resolve to the IP Address 192.168.10.10 which is the IP Address of the local Homestead Vagrant machine. Vagrant will then handle the requests, routing them to the correct directory.
That’s all the initial server config out of the way, now it’s time to set up a new Statamic project.
New Statamic Project
If you haven’t already, you’ll need to install the Statamic CLI via your terminal with composer global require statamic/cli. This adds the Statamic CLI globally on your machine, which makes it available from any directory in the system.
While SSH'd into your Homestead Vagrant machine (or other local development environment), cd into the relevant directory and run statamic new projectname.
Make sure you change projectname to the actual name of your project.
You’ll then be presented with a couple options; either install a Blank Site or use a Starter Kit. We’ll cover Starter Kits a bit later, but for now, as this is going to be a completely new website build, select Blank Site by hitting 0 then return.
Statamic then goes ahead installing all of the required dependencies including a fully working version of Laravel, which is awesome. Once finished, the CLI will prompt you to add a super user. Type yes and hit return, then enter your email followed by return. Next, enter your name, hit return and finally add your password.
Nearly done, but there is one final step before we can view our new Statamic website. We need to re-provision Vagrant so that it understands the new config we added in the homestead.yaml file earlier.
In the command line, enter exit to first leave SSH and then enter vagrant reload --provision. This may take some time, after which, you should be able to view your new Statamic website in the browser.
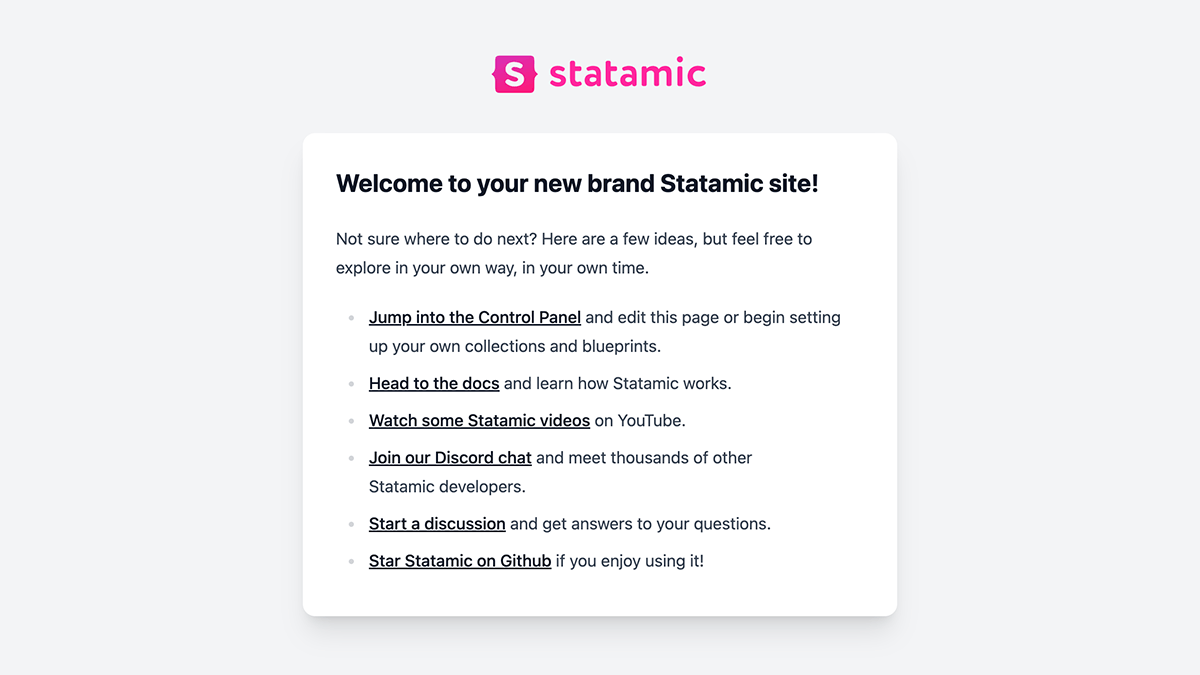
Once opened in your browser of choice, you’ll be presented with a basic landing page which contains a few useful links to the docs, a Discord server and GitHub. But the one we are interested in is Jump into the Control Panel.
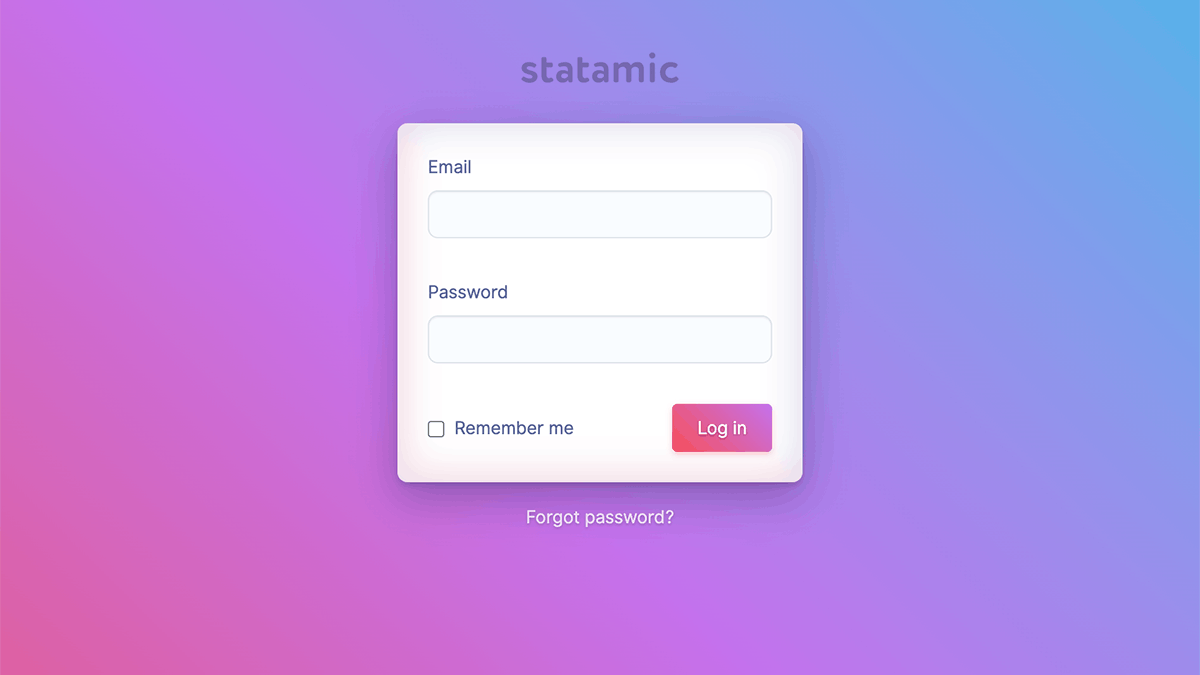
Clicking this takes us to the cp page link where we can login using the credentials we provided earlier on in the setup.
Once signed in, you’ll have access to the control panel. There’s a lot to take in, so to keep things simple we’ll just take a quick look at the home page and then wrap things up.
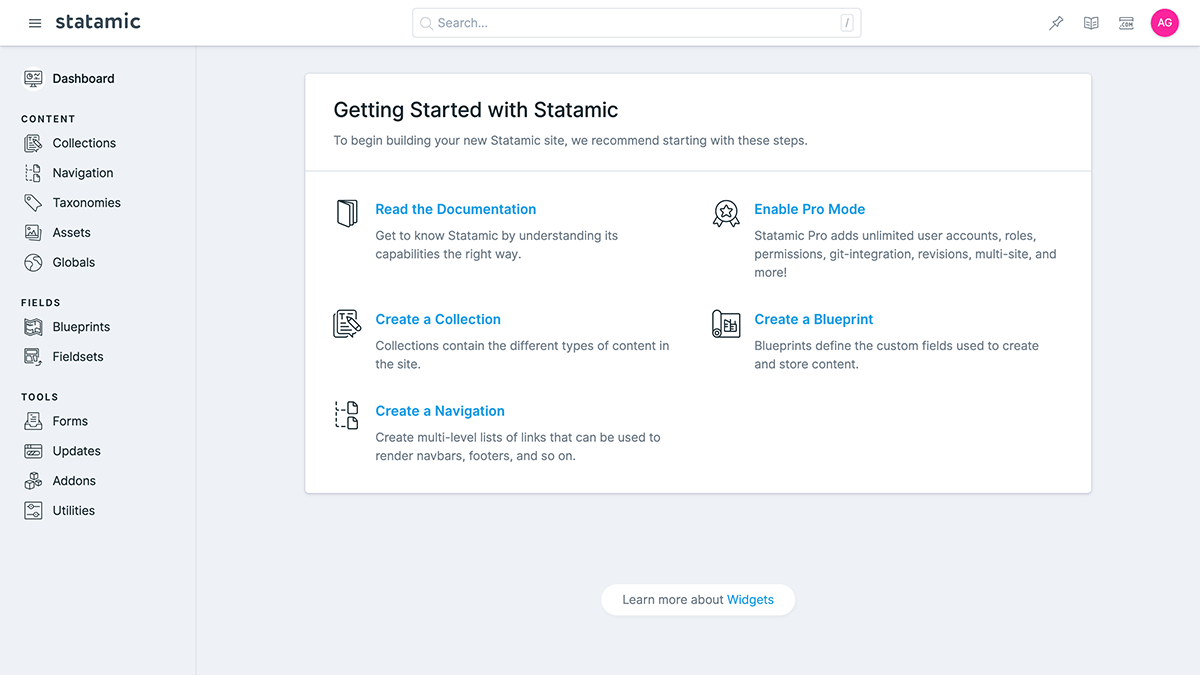
From the left sidebar, click Collections, which opens up all of the different collections of content. In this case we only have one already defined, pages. Click pages and you’ll see we have one entry, Home. This is the home page of the website.
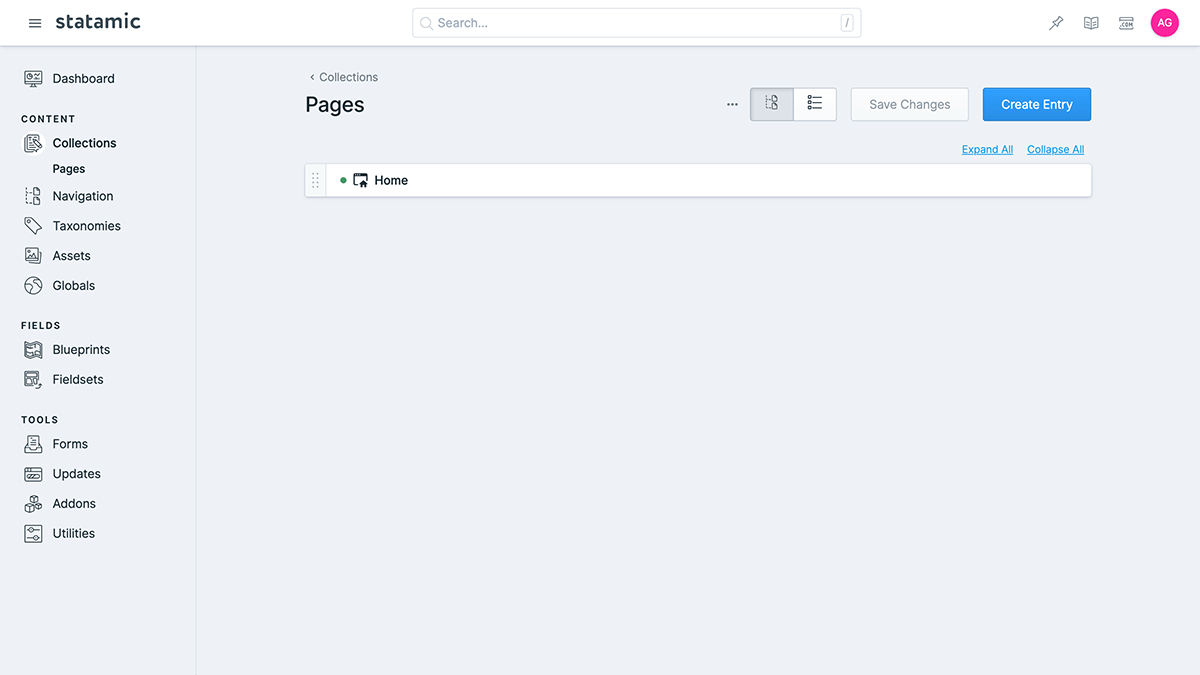
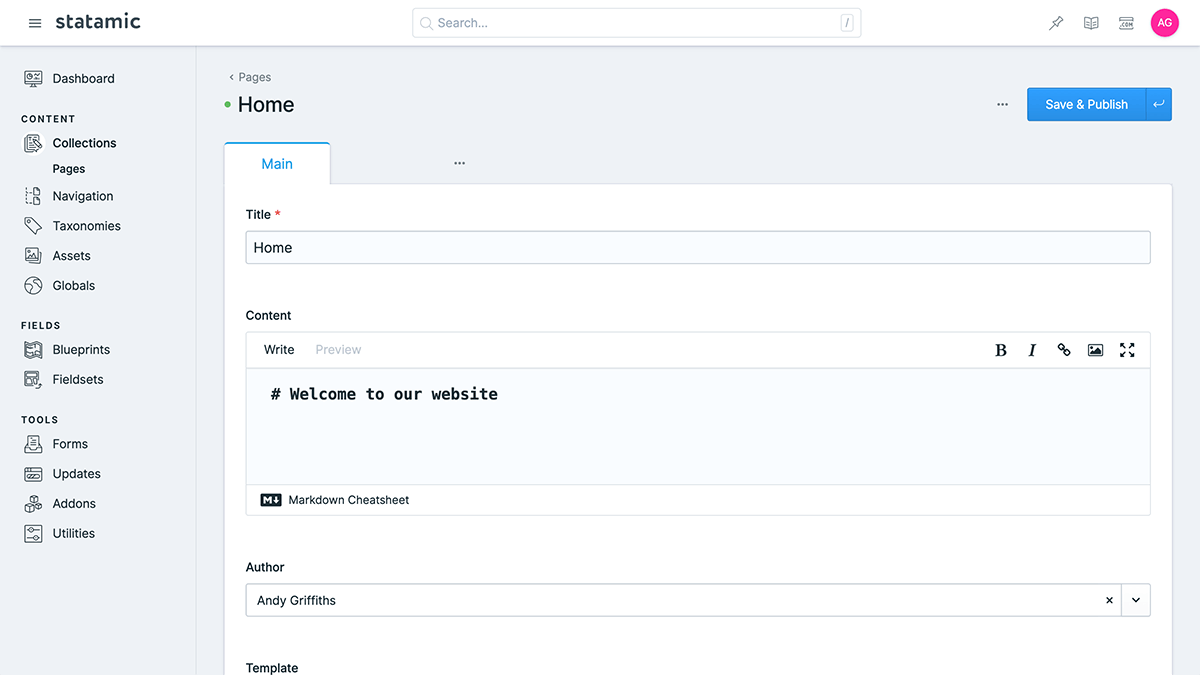
Click the Home link and you’ll be taken into the editing window where you can see that the home page content is created using markdown. Let’s update this by replacing it with a simple h1, saying welcome to our website then click Save & Publish in the top right hand corner.
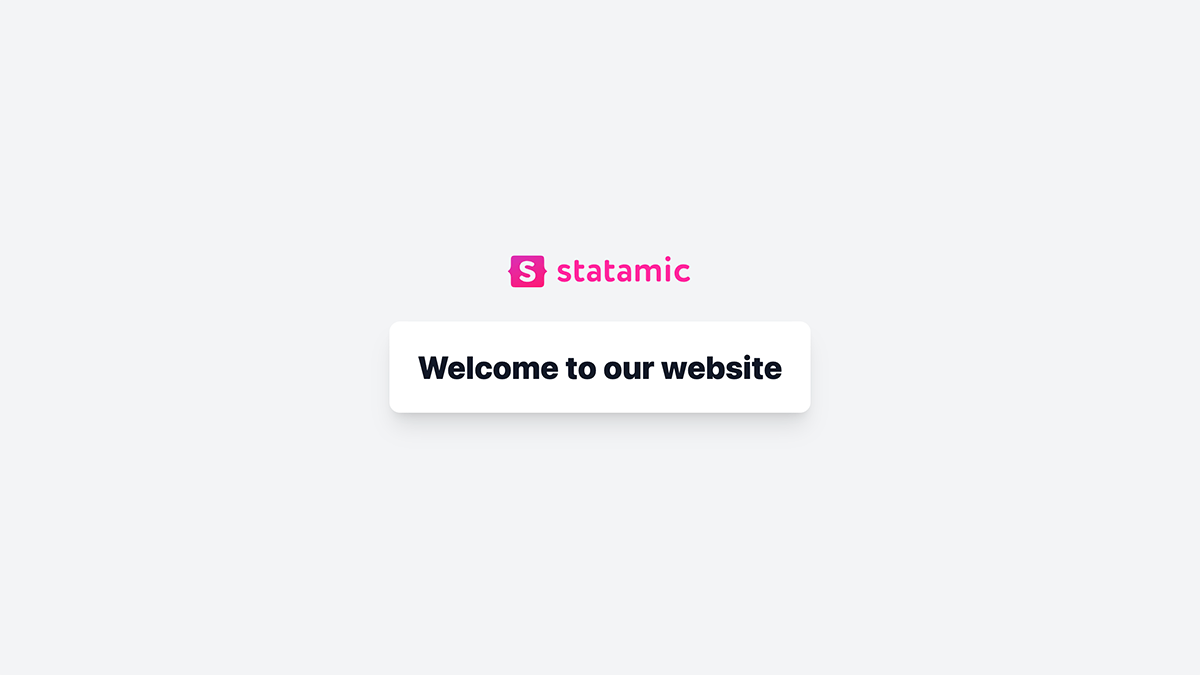
To view the changes live on the website, click the View Site icon in the top right of the navigation toolbar. This will open the website front-end in a new window. Cool, we’ve just managed our first piece of content with Statamic.
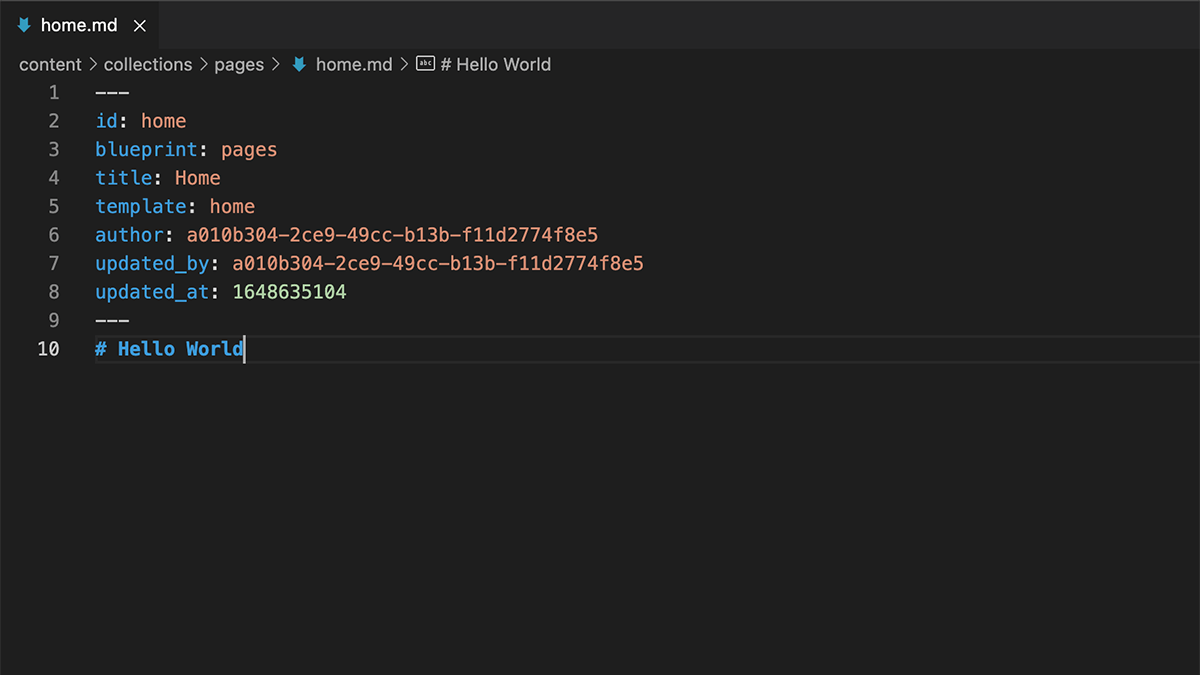
Before we wrap this up, as Statamic is a flat-file CMS, the data isn’t stored in a database but rather in markdown and yaml files within our Laravel project. To prove this, locate and open the home.md file here content/pages/home.md. What’s cool is that we can directly edit his file in our text editor without ever having to use the control panel at all.
To prove this, update the text to # Hello World and then visit your home page in the browser. Cool hey.
That wraps things up for this post. Next time, we’ll explore the control panel in more detail and look at updating some of the configuration.
